What Beginner Lash Artists Are Afraid to Ask (But Should!)
Becoming a successful lash artist isn’t just about mastering volume fans or isolation—it’s also about building confidence, learning from mistakes, and asking the right questions, even if you’re afraid to.
If you’re a beginner lash tech wondering if your struggles are normal, this blog is for you. We’re covering the real questions beginner lash artists are afraid to ask—and giving you honest, educational answers that will boost your skills, confidence, and lash career.
Let’s break the silence and get into the questions every new lash artist wants to ask—but usually won’t.
1. “What if my lash sets don’t look as good as the ones I see on Instagram?”
That’s completely normal—and expected.
Most beginner lash artists compare their work to highly edited photos of advanced artists with years of experience. It’s important to understand that mastering lash extension artistry takes time, practice, and patience.
Instead of chasing perfection, focus on the fundamentals:
Proper lash isolation
Correct placement (1–2mm away from the lash line)
Clean adhesive bonding
Track your progress with before/after pictures and ask experienced lash educators for feedback. Every set you do gets you one step closer to mastery.
2. “How do I choose the right lash curl, length, and diameter for my client?”
It depends on their natural lashes, eye shape, and the desired style.
One of the most important skills to develop is customizing each lash set based on the client’s natural lash health and desired look.

Here’s a breakdown:
Curl Types:
C Curl – Slight curl, ideal for a natural look
CC Curl – A happy medium between C and D, great for slight lift
D Curl – Dramatic curl for lifting downward or straight lashes
Length:
Stick to 2–3mm longer than the natural lash to prevent damage
Use shorter lashes on inner and outer corners for a soft, tapered look
Diameter:
0.15mm for classic
0.05–0.07mm for volume
0.03mm for mega volume
Choosing incorrectly can result in poor retention or damaged lashes. When in doubt, opt for lighter and shorter extensions, especially for beginners.
3. “What if I hurt my client’s eyes with the tweezers or glue?”
Safety comes first—and it’s something you can control with practice and knowledge.
Every beginner lash artist worries about injuring clients, but these risks are preventable:
Keep glue 1–2mm away from the eyelid to avoid irritation
Always isolate a single natural lash to prevent stickies
Work in a clean, sanitized space
Ensure your client’s eyes stay fully closed the entire time
Use lash-safe under-eye pads and tape correctly
Consider taking a lash safety course or a refresher workshop focused on hygiene and client comfort.
4. “Why is my lash retention so bad?”
Lash retention problems are common for beginners—but solvable.
Poor retention can be due to several factors:
Improper lash prep (e.g., oil residue or makeup left on lashes)
Incorrect glue usage (e.g., too much or too little adhesive)
Humidity mismatch (your adhesive performs best in a specific humidity range)
Client aftercare (e.g., not cleaning lashes, using oily products)
To improve retention:
Use a lash cleanser before every set
Control your room temperature and humidity with a hygrometer
Educate clients on proper lash aftercare (lash wash, no rubbing, etc.)
Invest in a high-quality, fast-drying adhesive suited for your environment
Keep a lash journal or client tracker to document retention results and spot patterns.
5. “Do I really need to be licensed or insured to do lashes?”
Yes—if you’re charging clients, you need to be licensed and insured.
Each state has its own regulations. Most states in the U.S. require lash artists to hold a cosmetology, esthetics, or eyelash extension specialty license. Working without one can lead to fines, lawsuits, and legal issues.
In Texas, if you only want to do lash extensions, there’s the Eyelash Extension Specialty License!
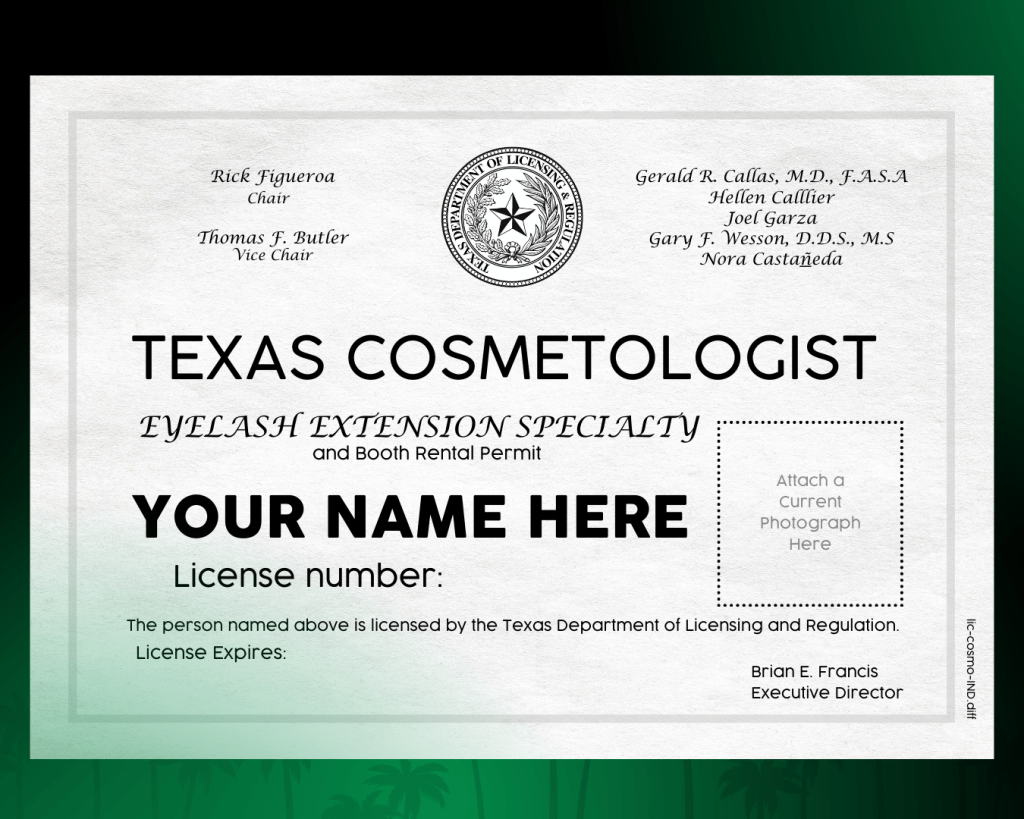
You also need professional liability insurance to protect yourself from client complaints, allergic reactions, or accidental injuries.
👉 Pro Tip: Enroll in a state-approved lash program, such as a 320-hour Eyelash Extension Specialist course if you’re in Texas, to get licensed and trained properly.
Explore DLU LASH LICENSE PROGRAMS HERE.
6. “How much should I charge if I’m still learning?
Start with model rates, then raise prices as you improve.
Your pricing strategy should reflect your:
Skill level
Location
Product costs
Time spent on each set
Start by offering model pricing or discounted sets in exchange for photos and testimonials. Once you feel confident and your retention improves, increase your prices gradually.
Example:
First 5 clients: $40–$50 (model pricing)
Next 10 clients: $60–$75
After that: Move closer to industry average in your area
Never undercharge long-term. Your time, products, and training are valuable!
Here’s a quick guide on the standard service pricing:

7. “I’m not confident speaking to clients. What if I sound awkward?”
Confidence comes from preparation and practice.
Client communication is a soft skill that develops over time. Try this:
Use a pre-written consultation form to guide your conversation
Ask open-ended questions like “What kind of look are you going for?”
Educate your client about the process and aftercare
Practice explaining your services out loud or in front of a mirror
Remember: Clients love transparency and professionalism—not perfection.

Bonus Pro Tips for Beginner Lash Artists
Invest in continued education – Stay updated with lash trends and advanced techniques.
Practice daily, even on mannequins – Repetition builds muscle memory and speed.
Build your brand early – Use Instagram to showcase your lash work, even as a beginner.
Document everything – Track client preferences, retention issues, and lash maps.
Find a mentor – Having an experienced lash artist guide you can fast-track your growth.
Final Thoughts: Keep Asking Questions & Keep Growing
Being a beginner lash artist is a journey filled with excitement, learning curves, and growth. Don’t let fear hold you back. The most successful lash techs are the ones who ask questions, invest in their craft, and never stop improving.
From lash retention to client consultations and proper lash mapping, every aspect of your training matters. Bookmark this blog and come back to it as you grow—because every lash boss started exactly where you are.
Ready to take the next step?
Let’s get you licensed and thriving!
Become a LICENSED lash artist in Texas or Connecticut!

Set yourself up for success and achieve your licensing goals with confidence!
Follow us on Instagram! @dfwlashuniversity
Need more help?
Explore these educational blogs: