Lash Attachment and Retention Tips Every Lash Artist Should Know
As a lash artist, mastering eyelash extension attachment and improving retention are key to building a loyal client base and running a successful beauty business. If you’re tired of hearing complaints about premature lash fallouts or want to increase your rebooking rate, this blog is for you.
Today, we’re diving deep into expert lash placement techniques, retention-boosting tricks, and must-know application tips—including a lash training method taught at DFW Lash University that’s helping students perfect their technique from day one.
Whether you’re a beginner or an experienced lash tech, these tips will take your eyelash extension application and client retention results to the next level. 🌟
Want to Ace Your Lash Placement? Start with the “Lash on a Log” Drill 🎯
At DFW Lash University (DLU), students don’t just dive into lash trays and tweezers—they begin with the foundational “lash on a log” activity, one of the best ways to develop control and precision in lash attachment.
How Does It Work?
This exercise mimics the structure of natural lashes using a few simple tools:
A cup
Tape
Hair or fine thread (to simulate lash hairs)
- Eyelash Extension tray – classic lashes (preferred to start) or volume lashes
Tape the hair strands across the opening of a cup—creating a tightrope-like structure. This “log” serves as your lash line.
✅ Start with Classic Lashes: Practice attaching individual lash extensions one by one. Focus on:
Upright lash placement
Controlling adhesive amounts
Avoiding drooping or tilting lashes
✅ Advance to Volume Lashes: Once you’re confident with classics, move on to volume fans. The challenge increases as you learn how to place multi-lash fans with the same precision and balance.
👉 Pro Tip: Practice attaching lashes from multiple angles—top, side, and bottom. This helps you understand how lash weight, curl, and adhesive behave under different views, giving you a stronger foundation in real-client scenarios.

📌 Watch How Lash on a Log Works Here
Why Wrapping Extensions Around Natural Lashes is a Game-Changer for Retention
If you’re only placing extensions on top of the natural lash, it’s time to level up. One of the most underrated yet effective lash retention techniques is wrapping extensions around the natural lash. Here’s why it’s a game-changer:
1️⃣ Maximize Contact = Maximize Retention
When you wrap the extension around the natural lash, you increase the surface area for bonding. This allows the adhesive to secure more of the extension, creating a stronger, more durable bond.
📌 SEO Tip: Improve lash extension retention by increasing bonding surface area.
2️⃣ Stronger Bond, Happier Clients
Wrapping gives a 360° grip, which means your extensions act like a “hug” around the natural lash. This reduces slippage, misalignment, and premature shedding.
Clients will notice the difference—better hold, fewer touch-ups, and longer-lasting sets. That means more trust in your work and better client loyalty.
3️⃣ Wrapping Helps Shield the Bond
Natural oils and daily exposure to skincare products can weaken lash adhesive. Wrapping extensions acts as a protective barrier, shielding the bond and helping extensions stay intact for the full growth cycle.
✨ Pro Tip: Mastering the wrap technique leads to fewer complaints and more 5-star reviews. Better technique = better retention = better business!
 📌 Learn More About Wrapping Here
Additional Lash Retention Tips Every Lash Artist Should Know
Want even more lash retention hacks to keep your sets looking flawless for weeks? Here are a few essentials:
✔️ Choose the Right Lash Curl and Diameter
Using lashes that are too heavy or thick for your client’s natural lash can weaken the bond and lead to premature shedding. Match curl, diameter, and length to the health of the client’s natural lashes.
SEO Tip: Best lash extension diameter for retention, ideal lash curl types for long-lasting sets.
✔️ Control Your Adhesive Amount
Too much adhesive can cause stickies and result in poor attachment. Too little won’t bond properly. Use just enough to coat the base—especially important for beginners using classic lashes.
✔️ Maintain Optimal Humidity and Temperature
Your adhesive performs best in a controlled environment. Make sure your lashing space stays within the recommended humidity and temperature range for your glue. This ensures proper curing and maximum retention.
SEO Tip: Best lash glue humidity levels, lash adhesive tips for longer retention.
✔️ Educate Your Clients on Aftercare
Retention isn’t just about what happens in your chair. It’s also about what happens after the appointment.
Give clients a lash aftercare card or send a follow-up text with these reminders:
Avoid oil-based makeup or skincare near the eyes
Don’t rub or pull lashes
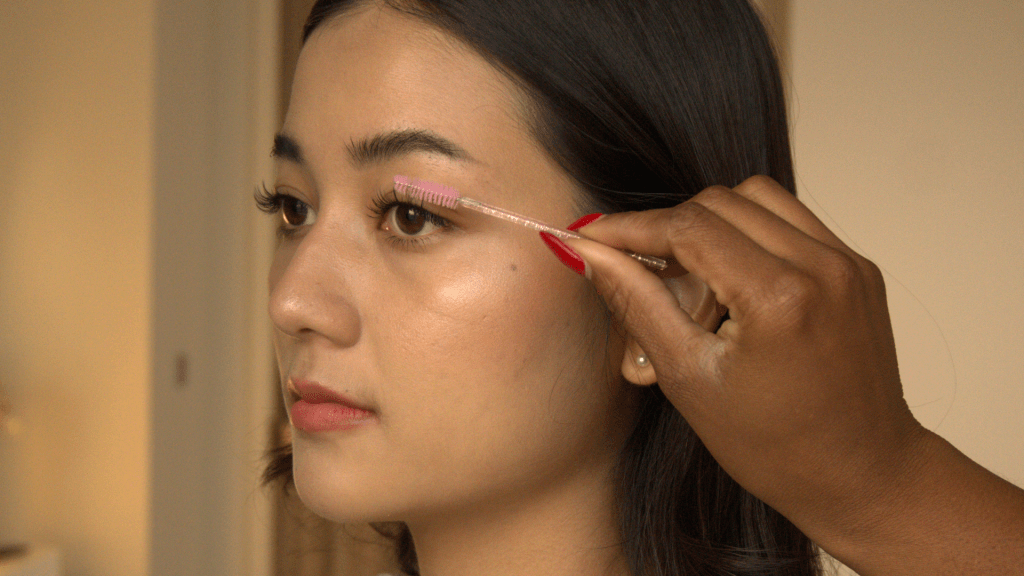
Brush daily with a clean spoolie
Book infills every 2-3 weeks
Practice Makes Perfect—And Retention Is Proof of Skill
There’s no shortcut to becoming a skilled lash artist—but there are smart strategies that fast-track your growth. By focusing on proper lash attachment, using techniques like wrapping, and perfecting your control through drills like “lash on a log,” you’ll elevate the quality of your sets—and the longevity of your clients’ lashes.
At DLU, our students gain hands-on practice, learn the science behind lash application, and master professional lash retention techniques. Want to become the next top lash artist in your city? Start with a strong foundation.
👉 Ready to get licensed or level up your lash skills? Visit DFW Lash University today and join a program that’s built for serious lash artists.